To all the people that have requested my minion soap tutorial…HERE IT IS!!!
Before you start to make this please realize that it will take a heap of patience.
This is by far the longest post I have ever written.
Minion Soap Tutorial
Yields: 11 (4 oz.) bars of soap
Time: 3 days and 1 hour.
For embeds:
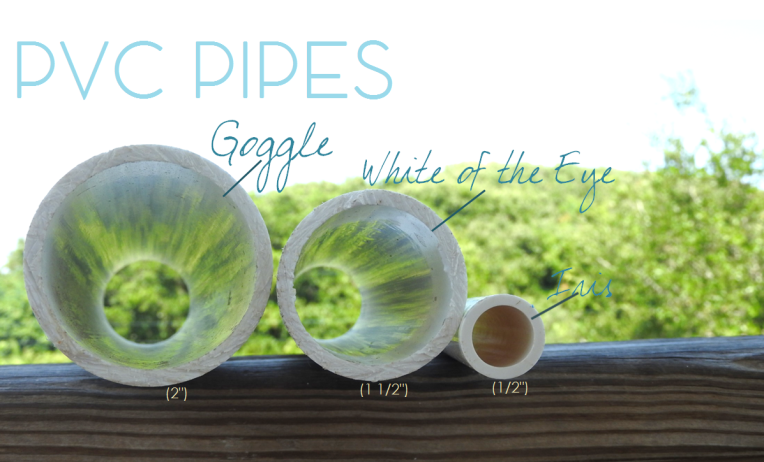
For the eye embed.
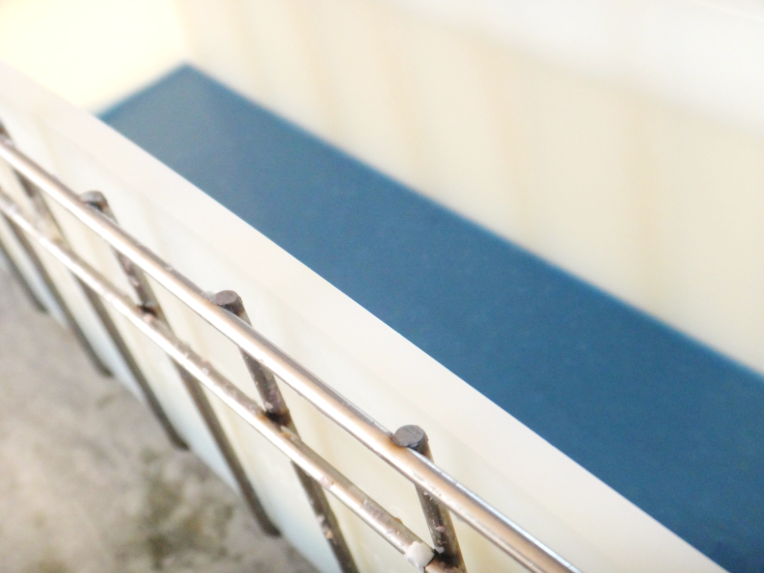
You will need three different sizes of PVC pipes. They will need to be cut 1/8″ shorter than the size of your regular loaf mold. I’m using an Essential Depot silicone 11″ loaf mold.
Lets get started.
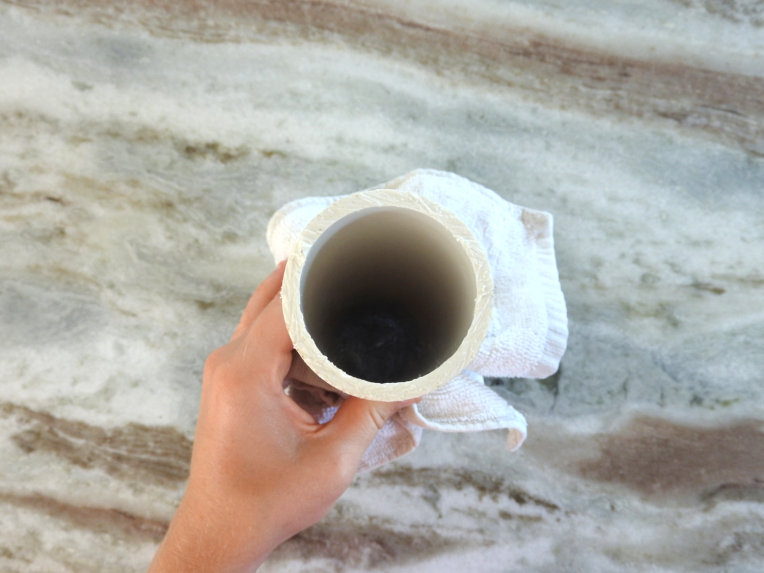
Prepare your molds by covering one end of each PVC pipe with plastic wrap or if you’re as clever as Alkeylah from Halcyon Baths, plug up one end with a silicone mold. Seriously, you need to see that!

You may need to wrap it twice, to ensure that it’s nice and strong.
Next your going to need to support it somehow. I use a cup, with a dish rag to support each mold, it’s worked swell so far!
For the first 1/2″ PVC pipe embed, I like to use the basic soap recipe below.
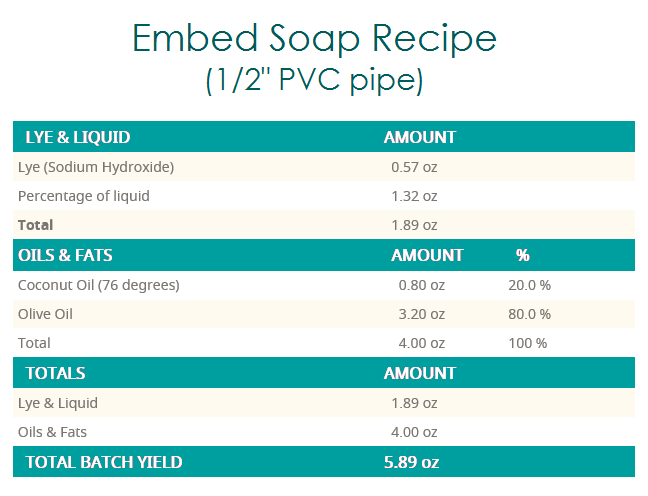
However, if you have all ready have a recipe, just make the embeds following your recipe.
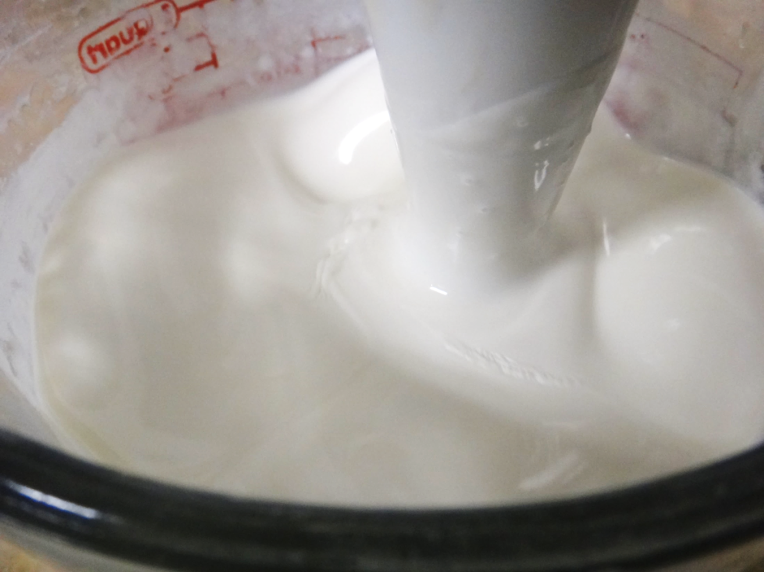
Prepare your soap batter, combining your lye solution to your melted oils.
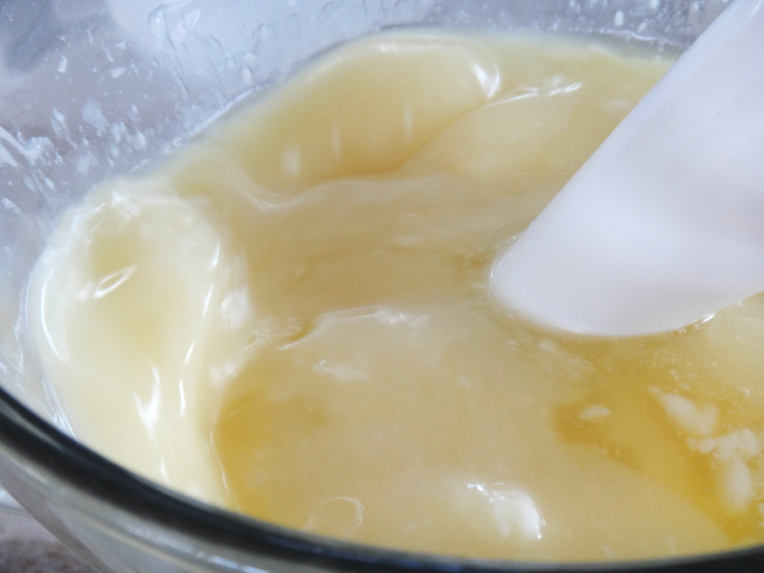
Next add your preferred color. I used brown oxide from wholesale supplies plus, because most minions have light brown eyes.
Once it’s traced you can add about 1/4 oz. of your favorite fragrance.
Mix well, and pour it into the 1/2″ pipe.
Set this aside and let it cure overnight.
Once the soap has finished curing, remove the plastic wrap and place in the freezer for 5 minutes. 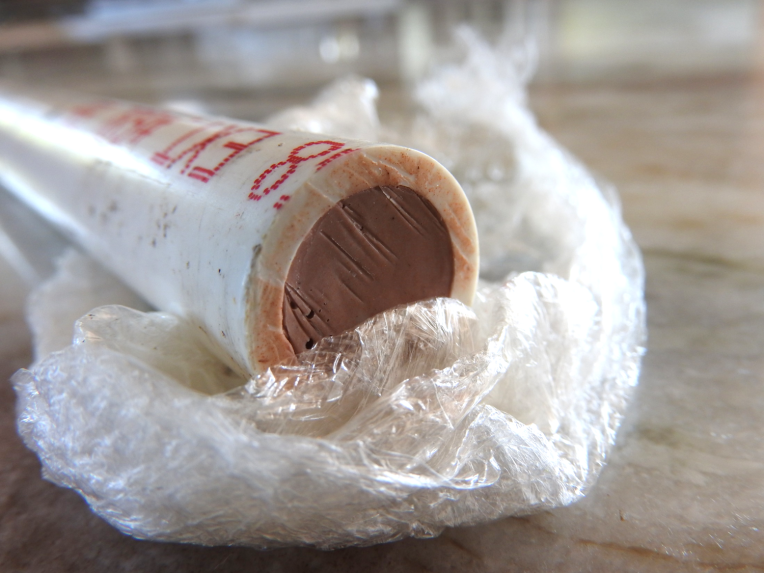
The cooler temperature should cause the fresh soap to harden just enough to enable you to release it from the mold with ease.
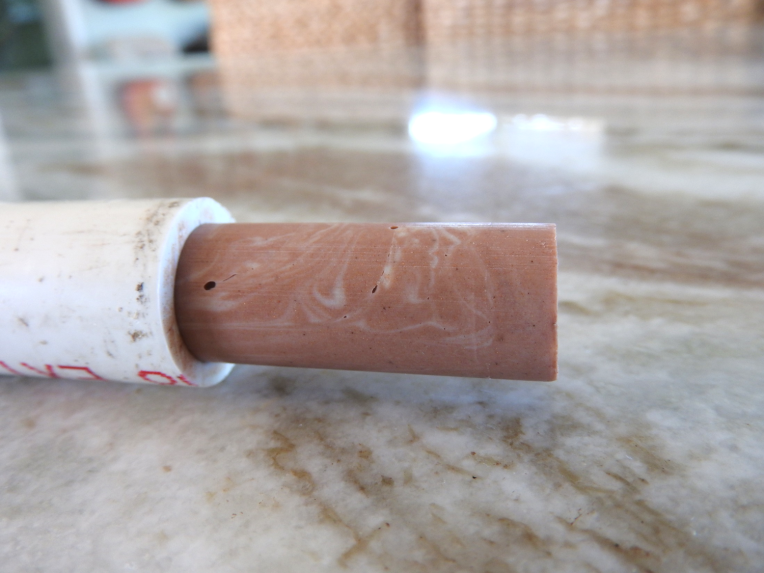
Now, getting soap into the pipe is a whole lot easier than getting it out if the pipe. For those of you who have worked with PVC pipes for molds before…You know the challenge. You do, I know you do. Moment of silence….((*sob sob*)) Okay, so it’s not that bad.
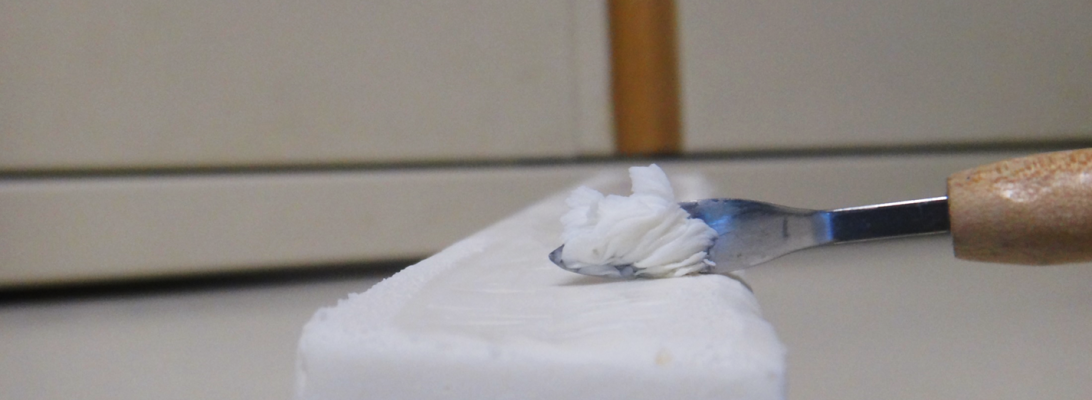
For the 1/2″ pipe, I found a Crayola marker that fits inside of the mold just perfectly! You will need to wrap whatever object you use to help the soap along in plastic wrap. I turned the soap mold upside down, placed the top of the wrapped marker right in the center of the soap, turned it right-side up, and slowly pressed down to release the soap from the mold. This method works, but if you have another one please share! I am always open for suggestions (just not in the kitchen. They always want to tell you what to do in the kitchen.)
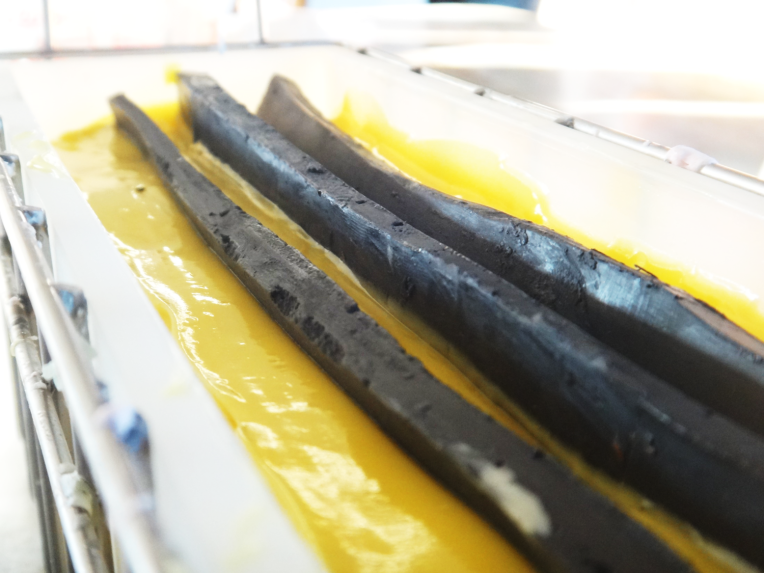
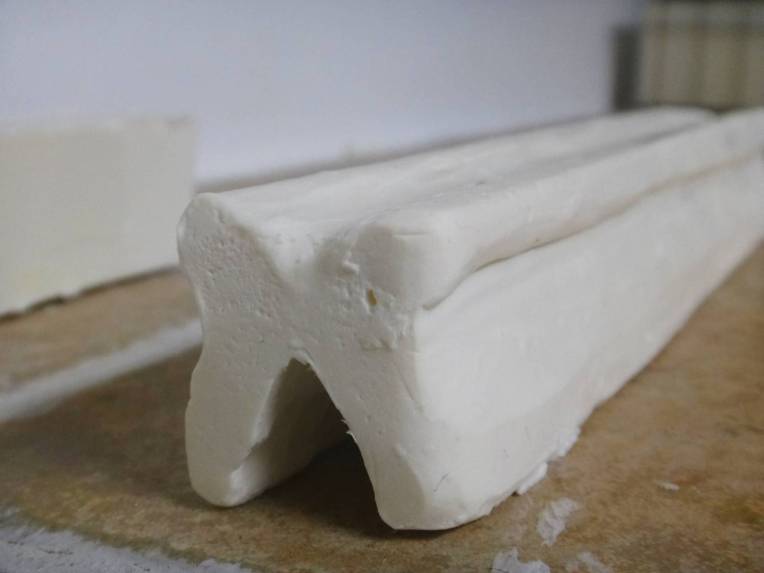
Oh, sweet marbled sausage soap! You know it looks like one…Just like one of those awful, what are they called? Obese-Jim? sausage things you can purchase at the checkout.

Yeah just like one of those…or any lunch meat product. It could be chocolate, if you squint.
Now that you’ve got your iris embed finished, it’s time for round two!
The white of the eye embed.

This is nearly a repeat of the previous embed, but there is going to be an iris inside of this one.
Just like before prepare your mold first, then make your soap how you normally would.
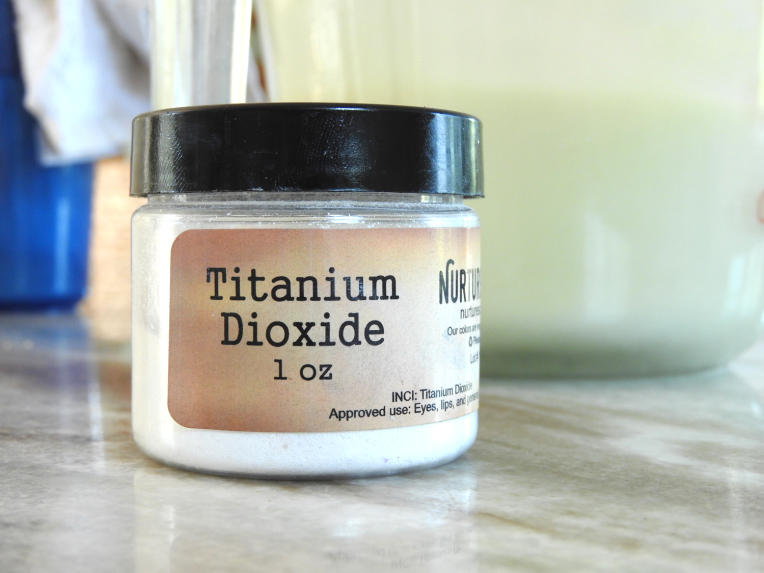
I chose to add some titanium dioxide from https://nurturesoap.com/ to keep the soap extra white!
Now, slowly pour half of the soap into the prepared PVC pipe.
Gently push your iris embed into the white soap, making sure it stays mostly in the center of the pipe. 
Once you’re sure that you have it centered, pour the rest of the white soap around the iris, and into the pipe.

Allow this to cure overnight. I know, WHAT???!!! AGAIN???!! Though I have thought about this, we are making a minion soap…we brought this on ourselves. Just think about that.
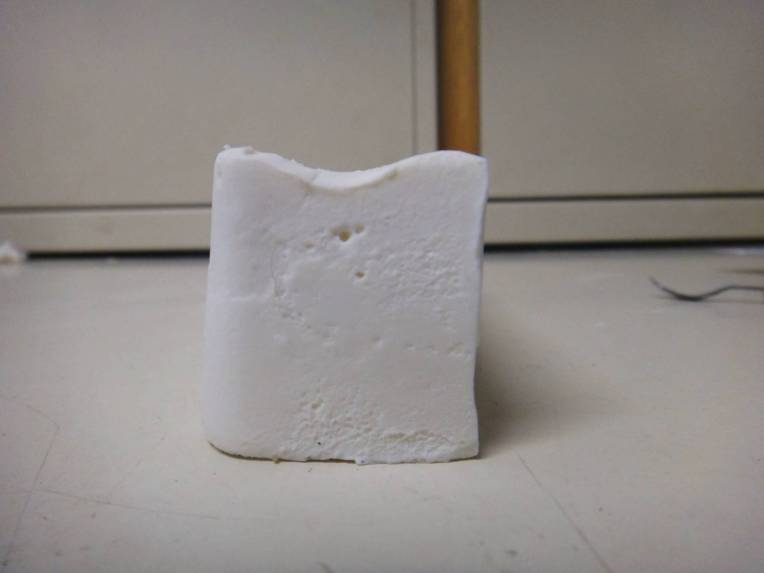
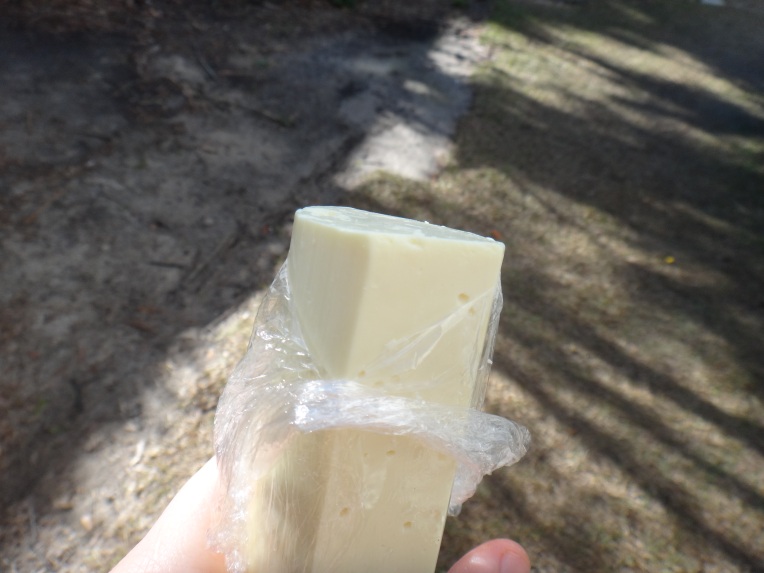
Once it has cured follow the same procedure as you did before.

Now this may not be very centered, but it will sure make the minion’s facial expressions change.
The final step to the eye embed!
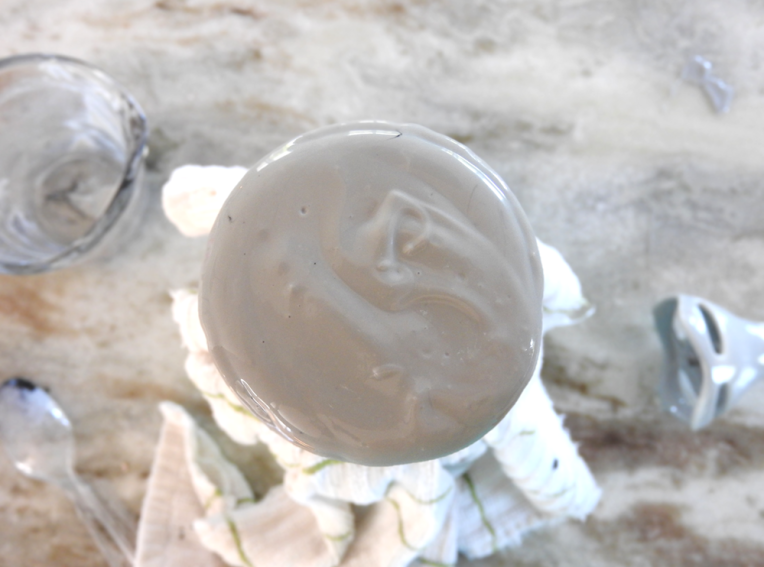
Besides adding a nice gray color, this final step is a repeat of the last one!

I combined black oxide & titanium dioxide to achieve this nice gray color.

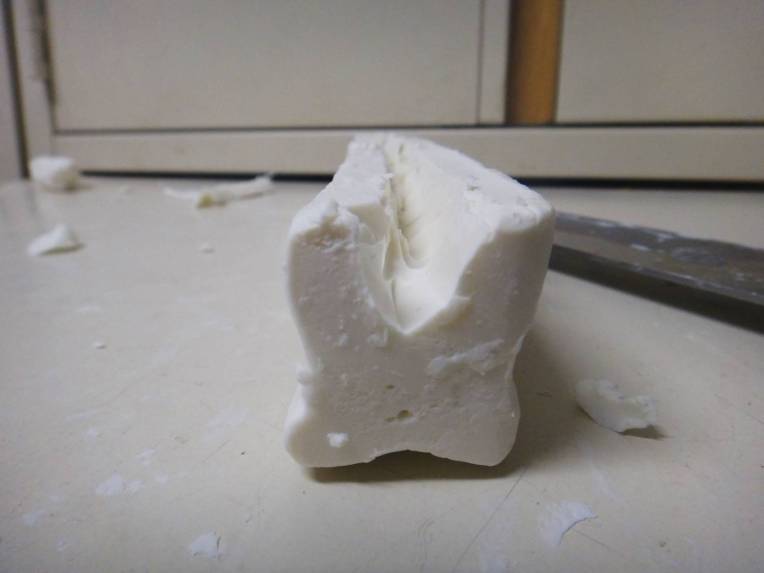
Gently sliding the eye embed into the gray soap. Making sure it is centered.


It seems as though I’ve run into a problem. I always have a tad bit of extra soap leftover.
Let it set up overnight, then release it from the mold in the morning.
The Hair

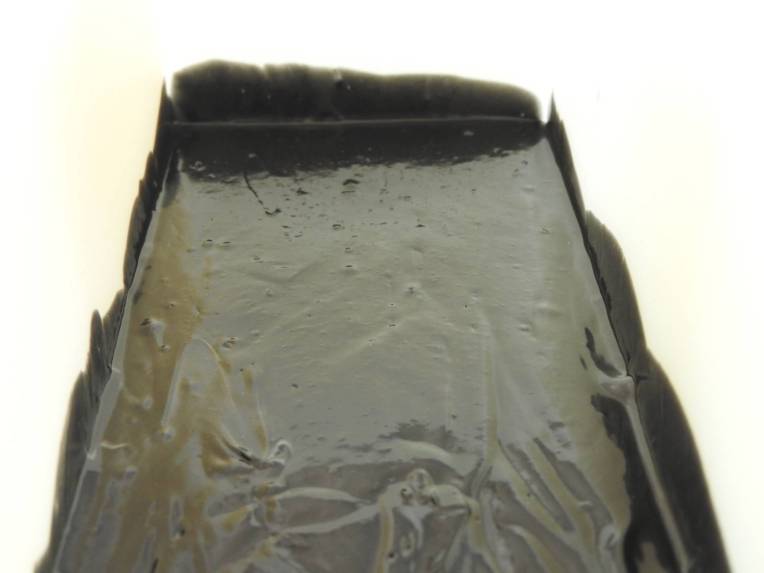
The hair embeds are surprisingly easy to make.
Simply make a small batch of embed soap, mix in a little black oxide, and pour it into the bottom of your regular silicone loaf mold. You could replace this (and the eye embed) with melt and pour base, but keep in mind that it tends to sweat when it is used as embed soap.

Cut the hair embed 4-5 times across lengthwise to make the little hairs.
The Minion Soap

Once more, it’s your decision whether you want to use this recipe or not.
Prepare your silicone loaf mold and set it aside.
Slowly combine your lye solution with your melted oils. Blend until light trace forms.
I use natures garden “Monkey Farts” fragrance oil for my minions. The fragrance oil itself causes the soap to accelerate just a tad. So I separate the soap first, color it next, and add my fragrance last. If you’re using a different fragrance oil, just fragrance first, separate next & color last.
The colors I use are:
Yellow vibrance from nurture soap
Black oxide from wholesale supplies plus
A mix of Cobalt blue & teal from wholesale supplies plus and natures garden.

This time I decided to add a blue layer at the bottom! 😀
Pour your first layer into the mold, and pop it into the freezer 3 or 4 minutes. This prevents the next layer from breaking through the first one.

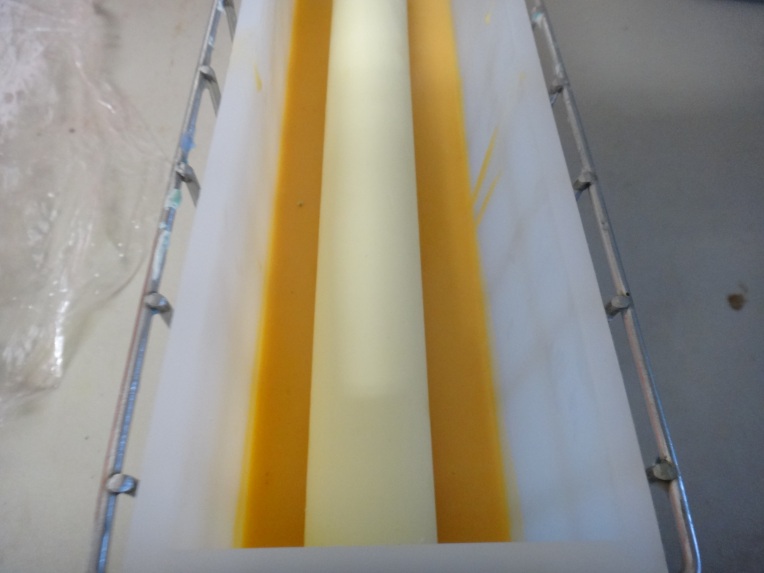
Next pour 1/3 of your yellow batter into the mold.
Gently tap it on the counter, to ensure all the little pesky bubbles have come to the top.
Let it set up for 3 minutes in the freezer.

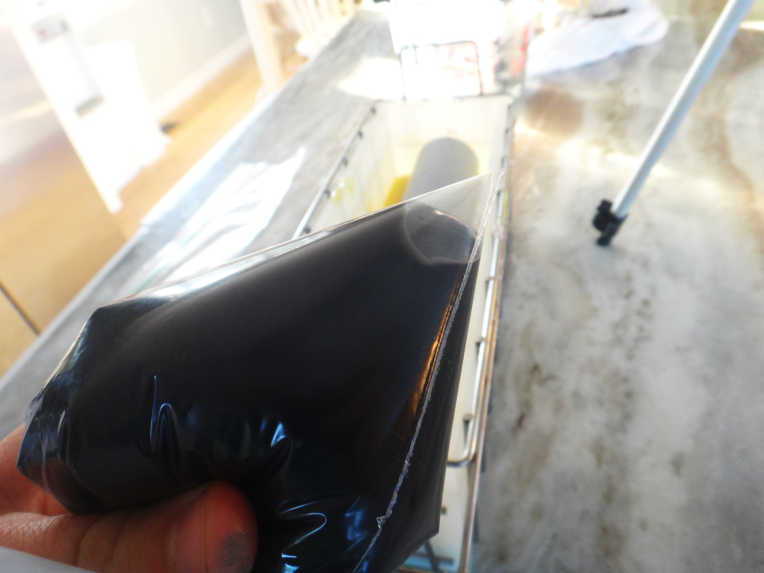
Prepare some black colored soap for the strap of the goggle, and spoon it into a substitute piping bag, or a piping bag if you get to them before your little siblings do.
Now for the eye!
Once your soap has set up, get your eye embed ready.

Carefully set the embed down into the yellow soap. Keep in mind that it is still very possible to break through the layers at this point, even with all of that freezing.

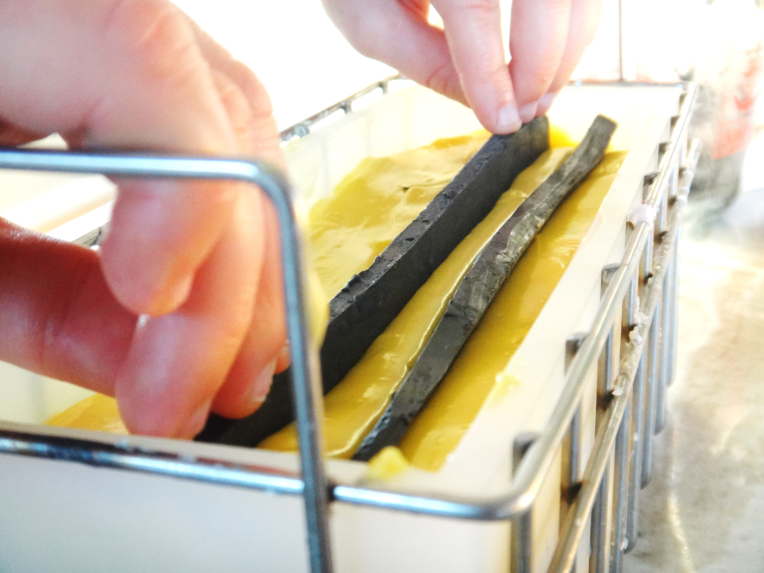
Now for the Goggle Strap.
Remember that black soap in the piping bag? I’d hope so, you just read about it three pictures up.Well worry no longer about it taking up those four inches of counter space. It’s time to use it. Snip the corner off the tip of the piping bag.
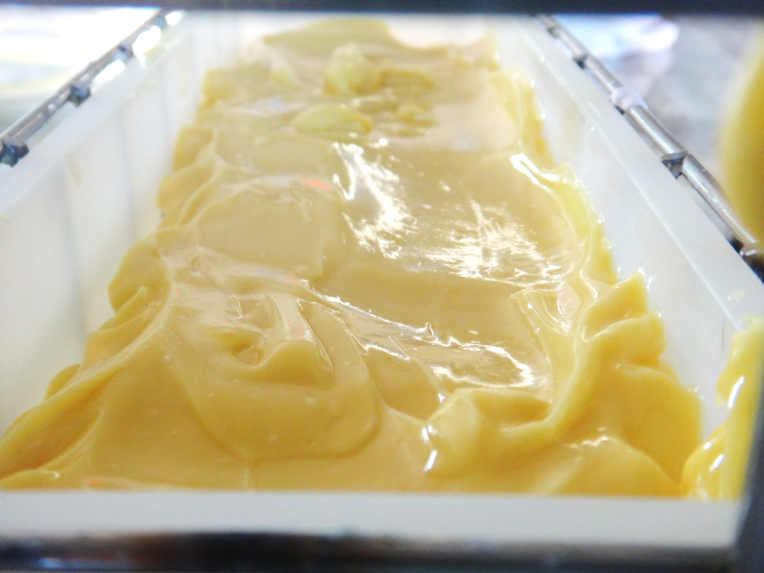
Squirt a small amount of black soap into the ditches of the yellow soap. Still don’t know what I’m talking about? Behold a photo to illustrate what I mean.

Once you feel comfortable, go ahead and pipe the rest of the black soap onto the sides.
“You: She could have just said that earlier!”
Yeah I know, but then I don’t get to come up with any weird names for the sides of the soap.

Smooth the black soap out, and pour the rest of your yellow soap over the eye and straps.

I love this color yellow! Don’t you?
Final step: The hair
You. Are. DONE!
Just let this sit overnight, and cut it open the following morning! You have just found soaping satisfaction.

The best (and hardest) part is that this it contains no melt and pour! This is all cold process soap.
I hope you enjoyed this tutorial, if you have or it was helpful to you in any way, please comment below or send me an email. –> islandsoapster@gmail.com
If you do end up making some minion soap, be sure to send photos of your finished minion along with your business information to my email, and I’ll post it to the blog. Hopefully that will bring some business your way! 🙂
-Emily


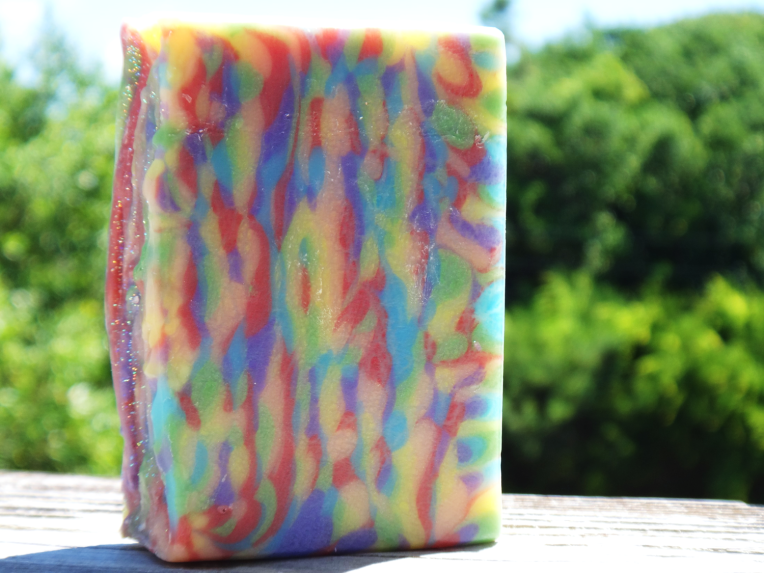
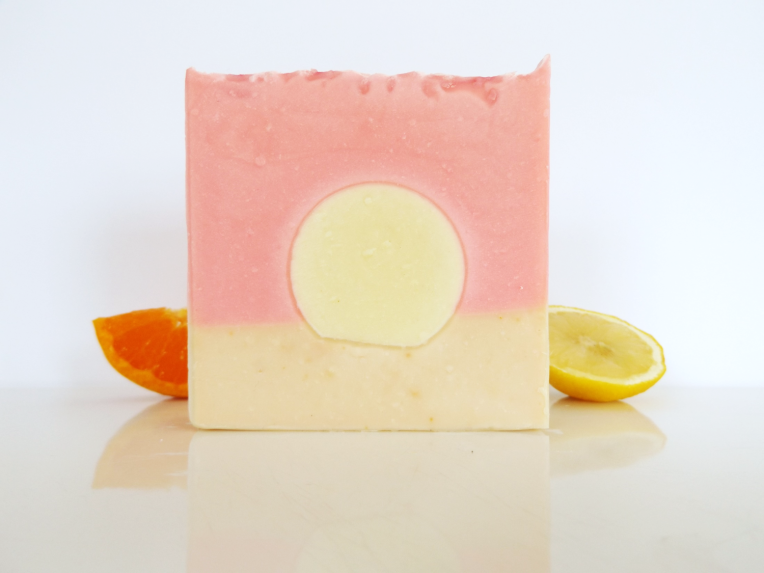
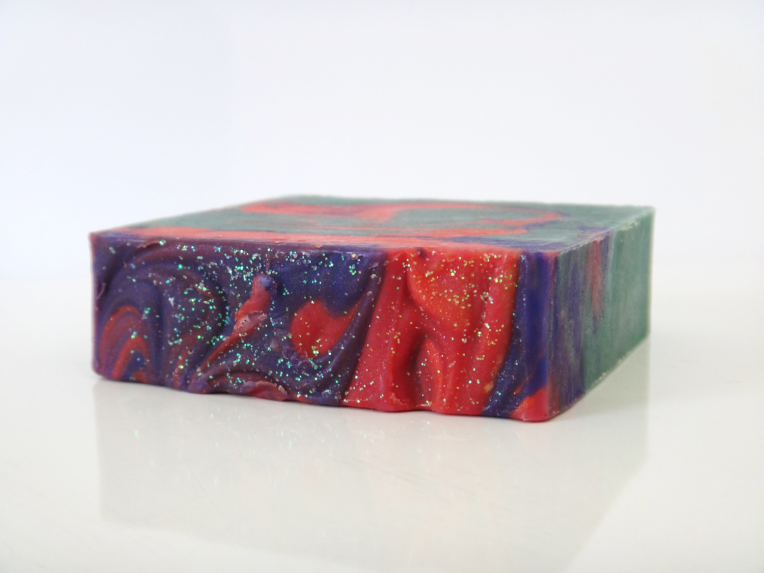 Psychedelic smells like a complex citrus & fruit blend.

 The Apple Spice tart smelled so good! I think it’s my favorite.
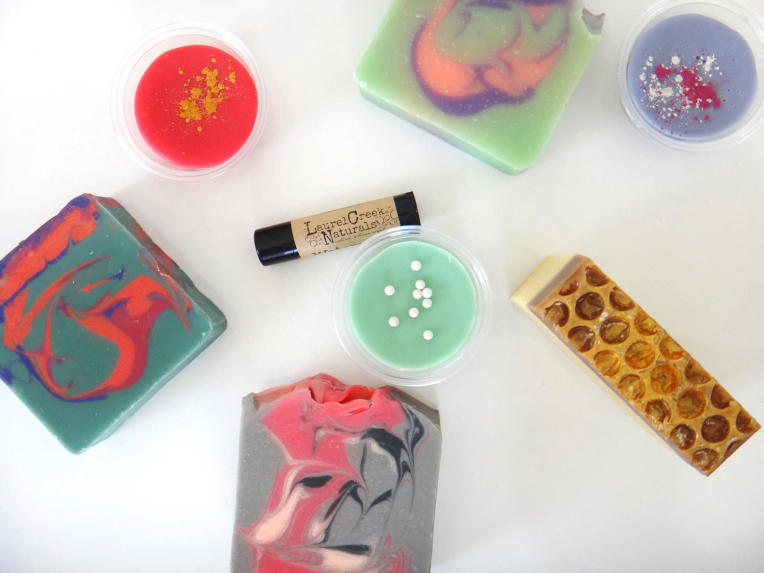 The opening of the lip balm was also immediate! I simply had to try it!
 I know, what an awesome name!
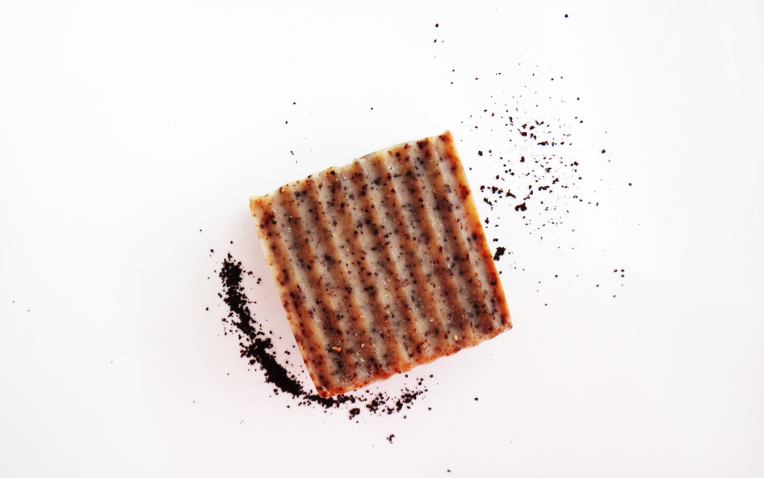
 Being intrigued when I saw the name “The Soapy Raccoon” lead me to look into the reason behind it.


 That’s a frightening photo of our squirrel, but it’s one of my favorites.


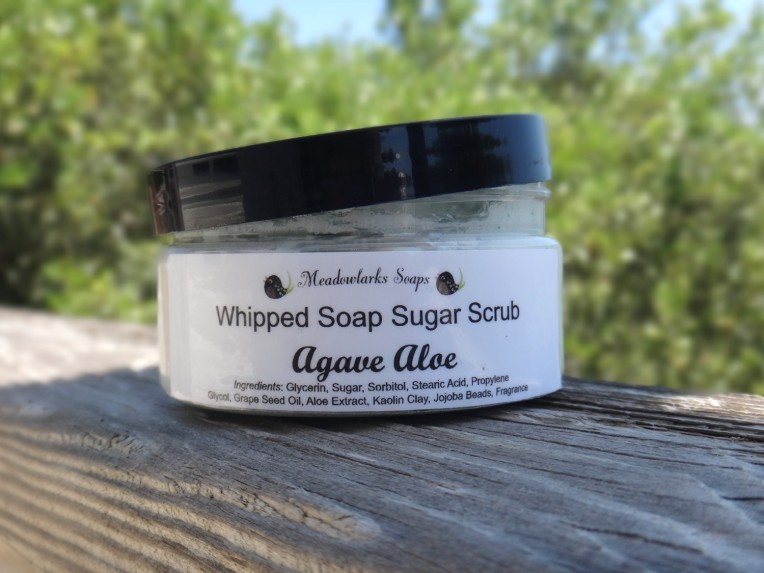
 The sugar scrub smells soooo good! It really does soften your skin.